

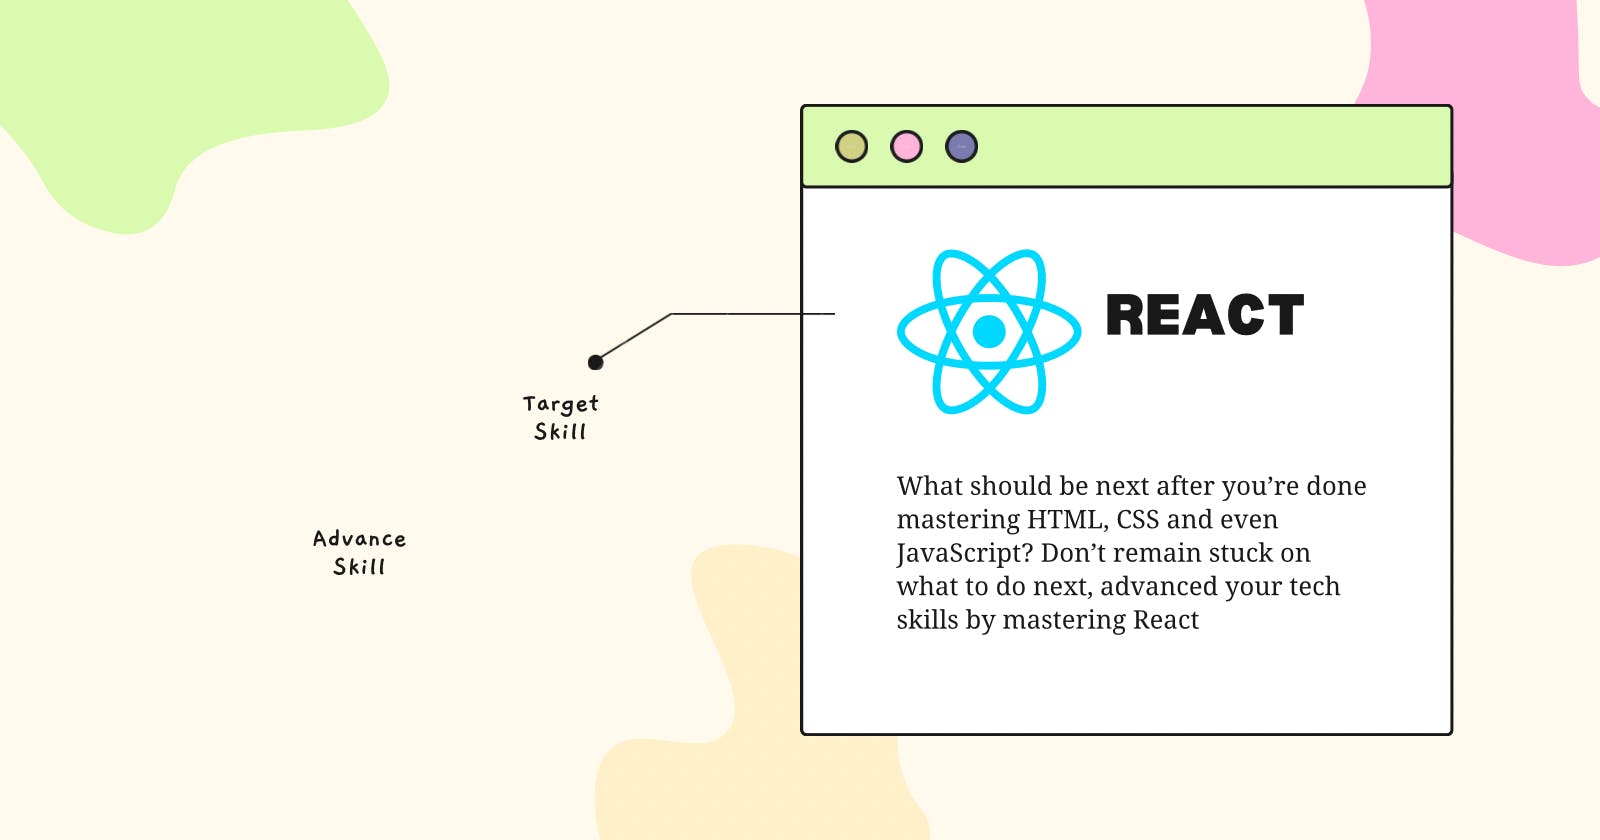


You’ve mastered HTML, CSS and even JavaScript but you seem stuck. Learn React today to advance your skill and build more complex applications.
React is a JavaScript library for building user interfaces, particularly single-page applications where components can be reused to create a dynamic and efficient UI. Developed and maintained by Facebook, React has gained widespread adoption for its simplicity, performance, and component-based architecture.
Setting Up React
To get started with React, you need to set up a development environment. The popular tool for this is Create React App, a command-line tool that sets up a new React project with a sensible default configuration.
Install Node.js: Ensure that you have Node.js installed on your machine. You can download it from nodejs.org.
Create a React App: Open your terminal and run the following command to create a new React app:
npx create-react-app my-react-appReplace "my-react-app" with the desired name for your project.
Navigate to Your App: Move into the newly created app directory:
cd my-react-appStart the Development Server: Run the development server to see your React app in action:
npm startThis command will start the development server, and you can view your React app at
http://localhost:3000in your web browser.
File Arrangement in a Typical React Project:
A React project created with Create React App follows a structured file arrangement. Here's an overview:
srcDirectory:index.js: Entry point of the application. Renders the root component.index.css: Global styles for the application.App.js: Main component where other components are typically imported and rendered.App.css: Styles specific to theAppcomponent.
publicDirectory:index.html: HTML file that serves as the template for the React app.
node_modules:- Directory containing the project's dependencies.
package.jsonandpackage-lock.json:- Files that describe the project and its dependencies.
publicDirectory:- This directory contains the
index.htmlfile, which is the single HTML page that includes the React app.
- This directory contains the
As you build your React app, you'll create additional components and organize them within the src directory, following a modular and component-based approach.
Using React
Now that you've set up your React app, let's dive into using React components and JSX.
Components: In React, UIs are built using components. A component is a self-contained, reusable piece of code responsible for rendering a specific part of the UI. Components can be functional or class-based.
Functional Component Example:
// Greeting.js
import React from 'react';

const Greeting = ({ name }) => {
  return <h1>Hello, {name}!</h1>;
};

export default Greeting;
Here, we've created a functional component called Greeting that takes a prop (name) and renders a greeting message.
JSX (JavaScript XML): JSX is a syntax extension for JavaScript recommended by React for describing what the UI should look like. It looks similar to XML or HTML but is embedded directly within JavaScript code.
JSX Example:
// App.js
import React from 'react';
import Greeting from './Greeting';

const App = () => {
  return (
    <div>
      <h1>Welcome to My React App</h1>
      <Greeting name="John" />
    </div>
  );
};

export default App;
Here, we use JSX to define the structure of our App component. Note how we include the Greeting component as if it were an HTML tag. JSX makes it more readable and expressive.
Key Points:
JSX allows embedding HTML-like syntax within JavaScript.
Components can be used within other components, promoting a modular and reusable structure.
Props (short for properties) are used to pass data to components.
As you continue building your React app, you'll work with JSX to compose your UI using components, creating a dynamic and interactive user experience. Components can be reused across different parts of your application, promoting a maintainable and scalable codebase.
Let's start with an introduction to event handling in React
Event Handling in React
In React, event handling is a crucial aspect that enables developers to respond to user interactions, such as button clicks, form submissions, or input changes. Handling events allows you to create dynamic and interactive user interfaces.
React follows a synthetic event system, providing a consistent interface for handling events across different browsers. Events are camel-cased and attached to JSX elements, making it seamless to work with JavaScript functions that respond to these events.
Examples of Event Handling:
Handling Click Events:
Comments in the code below explain what each code means
import React from 'react';

const ClickEventExample = () => {
  // Define a function to handle the click event
  const handleClick = () => {
    // Display an alert when the button is clicked
    alert('Button Clicked!');
  };

  return (
    <div>
      {/* Attach the handleClick function to the onClick event of the button */}
      <button onClick={handleClick}>Click me</button>
    </div>
  );
};

export default ClickEventExample;
- Handling Input Change Events
import React, { useState } from 'react';

const InputChangeExample = () => {
  // Use state to manage the input value
  const [inputValue, setInputValue] = useState('');

  // Define a function to handle input changes
  const handleInputChange = (e) => {
    // Update the inputValue state with the new value
    setInputValue(e.target.value);
  };

  return (
    <div>
      <label>Type something:</label>
      {/* Attach the handleInputChange function to the onChange event of the input */}
      <input type="text" value={inputValue} onChange={handleInputChange} />
      <p>Typed Value: {inputValue}</p>
    </div>
  );
};

export default InputChangeExample;
That's the basis of event handling and you can improve more by going through the official Doc or watching tutorials on YouTube. If you need a link to a perfect YouTube tutorial, leave a comment below.
Conditional Rendering
In React, conditional rendering is a way to show different content based on certain conditions. You can use the if statement or the ternary operator within JSX to achieve this. Let's look at a basic example:
import React from 'react';

const Greeting = ({ isLoggedIn }) => {
  if (isLoggedIn) {
    return <p>Welcome back!</p>;
  } else {
    return <p>Please log in.</p>;
  }
};

export default Greeting;
In this example:
The
Greetingcomponent takes a prop calledisLoggedIn.If
isLoggedInistrue, it renders a welcome message.If
isLoggedInisfalse, it renders a prompt to log in.
You can use this Greeting component in another component by passing the appropriate value for isLoggedIn. For instance:
import React from 'react';
import Greeting from './Greeting';

const App = () => {
  const userIsLoggedIn = true; // or false based on your application logic

  return (
    <div>
      <h1>Hello React!</h1>
      <Greeting isLoggedIn={userIsLoggedIn} />
    </div>
  );
};

export default App;
Here, App renders the Greeting component and passes the isLoggedIn value based on your application's state or logic.
Let's integrate event handling and conditional rendering into a simple React web application. We'll create a scenario where a button click toggles a login state, and based on that state, we'll conditionally render a welcome message or a login prompt.
First, let's create the components:
- LoginButton.js (Handles Event):
import React from 'react';

const LoginButton = ({ onClick }) => {
  return (
    <button onClick={onClick}>
      Click to {onClick ? 'Logout' : 'Login'}
    </button>
  );
};

export default LoginButton;
- GreetingMessage.js (Handles Conditional Rendering):
import React from 'react';

const GreetingMessage = ({ isLoggedIn }) => {
  return (
    <div>
      {isLoggedIn ? <p>Welcome back!</p> : <p>Please log in.</p>}
    </div>
  );
};

export default GreetingMessage;
- App.js (Main Component):
import React, { useState } from 'react';
import LoginButton from './LoginButton';
import GreetingMessage from './GreetingMessage';

const App = () => {
  const [isLoggedIn, setLoggedIn] = useState(false);

  const handleButtonClick = () => {
    setLoggedIn((prevLoggedIn) => !prevLoggedIn);
  };

  return (
    <div>
      <h1>React Event Handling and Conditional Rendering</h1>
      <LoginButton onClick={handleButtonClick} />
      <GreetingMessage isLoggedIn={isLoggedIn} />
    </div>
  );
};

export default App;
In this example:
The
LoginButtoncomponent handles the click event and changes its text based on whether the user is currently logged in or not.The
GreetingMessagecomponent conditionally renders a welcome message or a login prompt based on theisLoggedInprop.
Now, you can include these components in your actual web application. When the button is clicked, it will toggle the login state, and the greeting message will update accordingly.
Remember to use these components in your main application file (e.g., index.js) and render the App component there.
If you integrate the provided components into a React application and run it, here's what you can expect:
Initially, the web page will display:
React Event Handling and Conditional Rendering
Click to Login
Please log in.
When you click the "Click to Login" button, the page will update to:
React Event Handling and Conditional Rendering
Click to Logout
Welcome back!
Subsequent clicks on the button will toggle between "Login" and "Logout," updating the welcome message accordingly.
Remember, the appearance might vary based on your styling or any additional elements you include in your application. The provided output assumes a basic structure and styling.
Stay tuned for our upcoming tutorials where we’ll delve into more exciting React concepts and guide you through building robust web applications. Make sure to follow us to receive updates on the latest tutorials in our React series.