


Emotion recognition is the process of automatically inferring the emotional state of a person from their facial expressions, speech, or other behavioral cues. It is a challenging task, but it has many potential applications in areas such as healthcare, customer service, and security.
In this article, we present a methodology for developing an emotion recognition system using audio dataset. The methodology consists of the following steps:
Data collection
Data preprocessing
Feature extraction
Model training
Model deployment
In the following sections, we will discuss each step of the methodology in more detail.
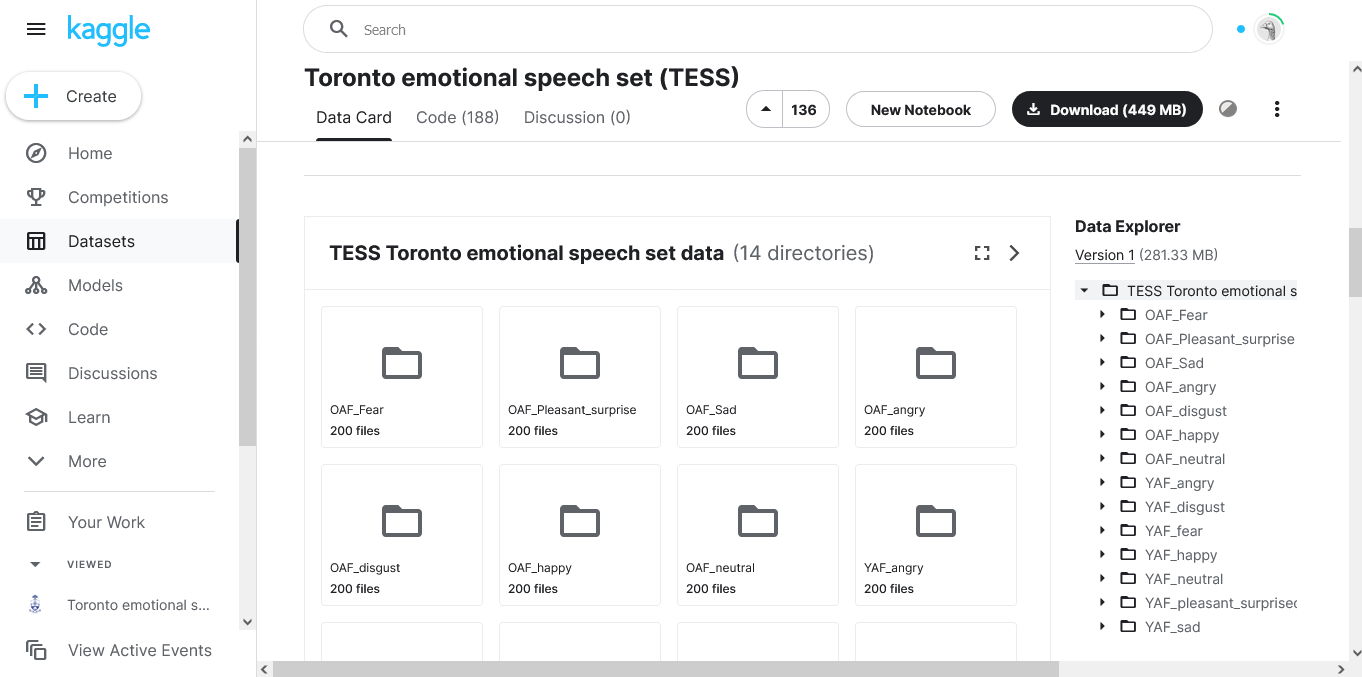
Data Collection
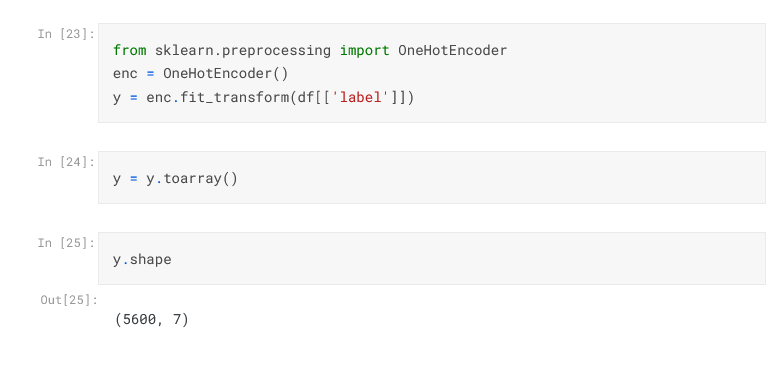
The TESS dataset (Toronto Emotional Speech Set) was created by Kaggie in 2010. It is a female-only dataset of audio recordings of people speaking with different emotions. The dataset contains 2800 audio recordings of 2 actresses (aged 26 and 64 years) speaking in 7 different emotions: happiness, sadness, anger, fear, surprise, disgust, and neutral.
The TESS dataset is a good choice for emotion recognition because it is:
Female-only: This is important because most other emotion recognition datasets are skewed towards male speakers. This can lead to overfitting, as the model will learn to recognize emotions based on the vocal patterns of male speakers.
High quality audio: The audio recordings in the TESS dataset are of high quality, which makes it easier for the model to learn the features of the audio data.
Evenly distributed across emotions: The audio recordings in the TESS dataset are evenly distributed across the 7 emotions. This is important for training a balanced model that can recognize all emotions with equal accuracy.
The TESS dataset is organized into two folders, one for each actress. Each folder contains the audio recordings for all 7 emotions. The audio recordings are in WAV format.
To collect the data, the following steps were done:
Downloaded the TESS dataset from the Kaggle website: https://www.kaggle.com/datasets/ejlok1/toronto-emotional-speech-set-tess.
Extracted the dataset files to a local directory.
Verified that the dataset contained the correct number of audio recordings and that they were all in WAV format.
Split the dataset into a training set and a test set. The training set contained 2400 audio recordings, and the test set contained 400 audio recordings.
Data Preprocessing
After collecting the data, the next step is to preprocess it. This involves tasks such as:
Loading the data into a Pandas DataFrame. This will make it easier to work with the data and to visualize it.
Checking the distribution of labels. This will help to ensure that the dataset is balanced and that there are an equal number of audio recordings for each emotion.
Removing any corrupted or incomplete audio recordings. This will improve the quality of the dataset and make it easier for the model to learn the features of the audio data.
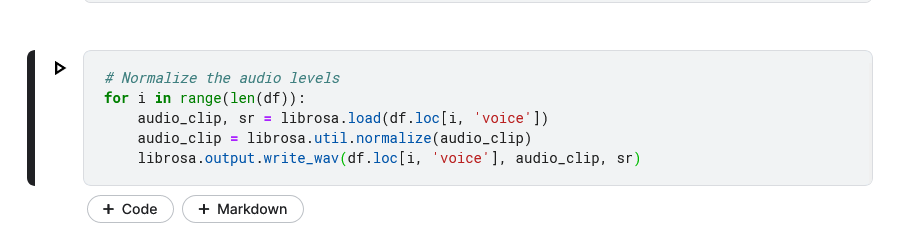
Normalizing the audio levels. This will ensure that all of the audio recordings have the same volume. This is important because the model will learn to recognize emotions based on the relative levels of different frequencies in the audio data.
Segmenting the audio recordings. This will break the audio recordings down into shorter clips. This is important because the model will only be able to learn the features of a short clip at a time.
Here is the code used to preprocess the data:

Importing Modules for the Project
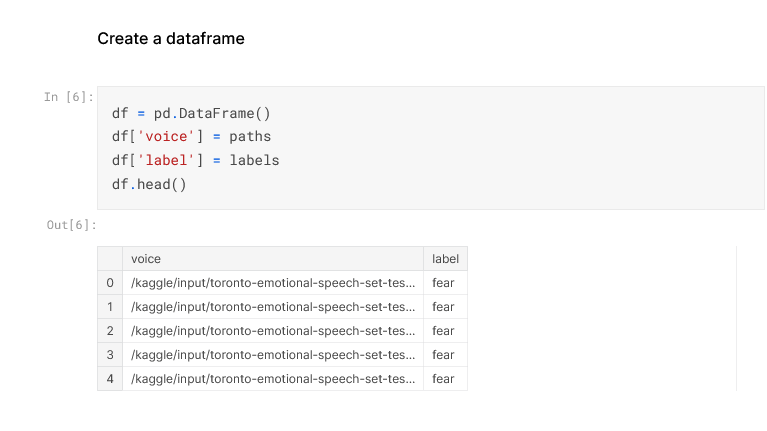
Loading our audio dataset and creating a data frame with it

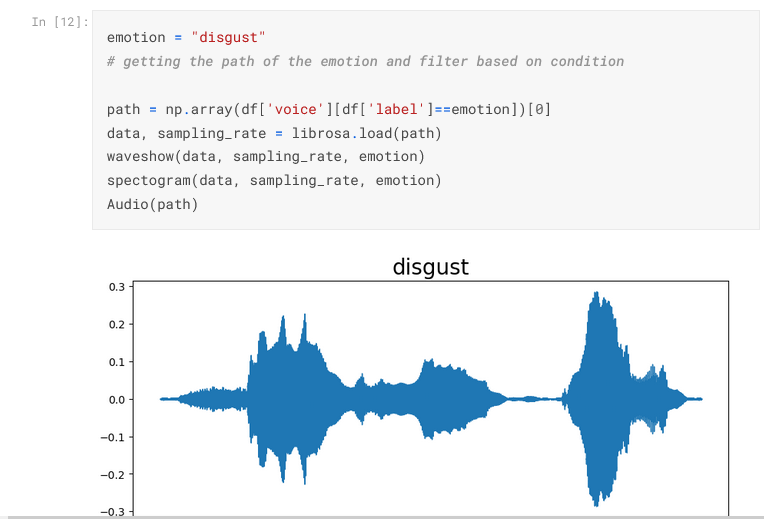
Showing the available audio in the data frame graphically

Changes in the FEAR audio pitch is shown in the wave plot and spectrogram.

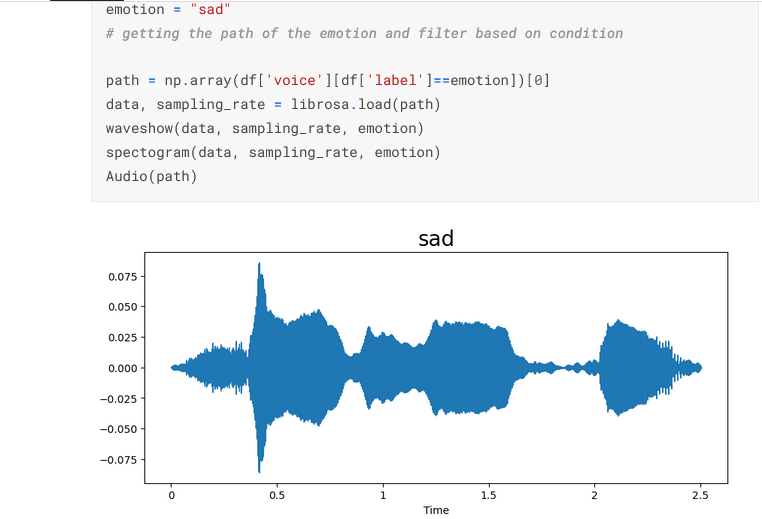
Changes in the SAD audio pitch is shown in the wave plot and spectrogram.

Removing Corrupted or Incomplete Audio

Normalizing the Audio
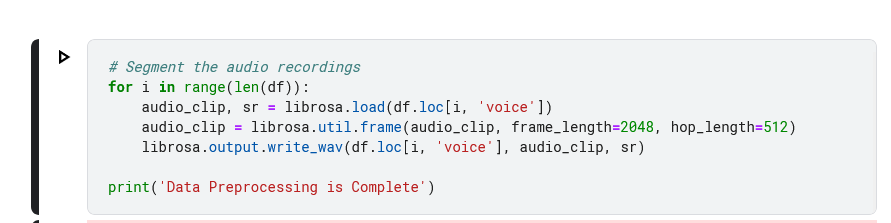
Segmentation of the Audio
This code first loads the dataset into a Pandas DataFrame. Then, it checks the distribution of labels to ensure that the dataset is balanced. Any corrupted or incomplete audio recordings are removed. The audio levels are normalized to ensure that all of the audio recordings have the same volume. Finally, the audio recordings are segmented into shorter clips. This preprocessing step is important because it ensures that the data is clean and ready for modeling. It also helps to improve the accuracy of the model by making it easier for the model to learn the features of the audio data.
Feature Extraction
After preprocessing the data, the next step is to extract features from the audio data. Mel-frequency cepstral coefficients (MFCCs) is used for feature extraction. MFCCs are a popular feature for emotion recognition. They are extracted by first converting the audio data to the frequency domain and then calculating the Mel-frequency spectrum. The Mel-frequency spectrum is a representation of the frequency spectrum that is more perceptually relevant to humans. The MFCCs are then calculated from the Mel-frequency spectrum.
The code below shows how it was done:
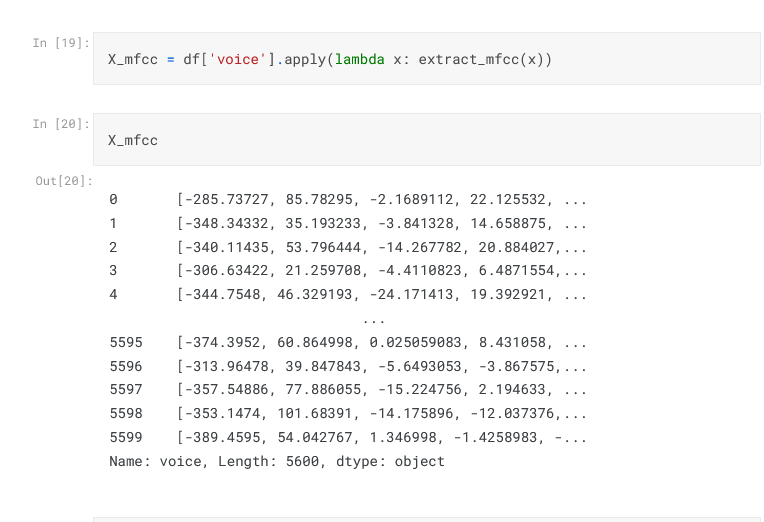
This code first loads the dataset into a Pandas DataFrame. Then, it extracts MFCCs features from the audio data. This feature extraction step is important because it converts the audio data into a format that can be used by the model. It also helps to improve the accuracy of the model by extracting features that are relevant to emotion recognition. Converting it to a format acceptable by our LSTM model code is below:
Model Training
After extracting features from the audio data, the next step is to train a model to recognize emotions. This can be done using a deep learning neural network, such as an LSTM (Long Short Time Memory) model.
An LSTM model is a type of recurrent neural network that is well-suited for tasks that involve sequential data, such as audio data. LSTM models can learn long-term dependencies in the data, which is important for emotion recognition.
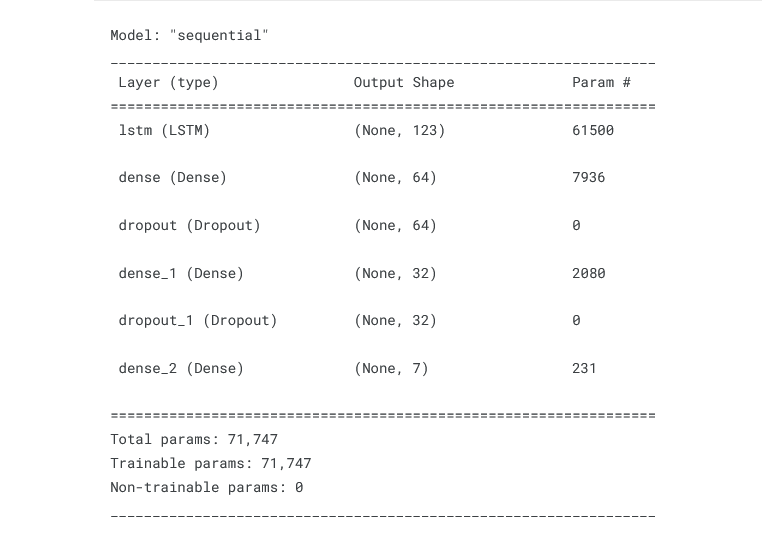
The LSTM model created has the following architecture:
An LSTM layer with 123 units
A Dense layer with 64 units
A Dropout layer with a rate of 0.2
A Dense layer with 32 units
A Dropout layer with a rate of 0.2
A Dense layer with 7 units, corresponding to the 7 emotions in the dataset
The model is compiled with the following settings:
Loss function: categorical_crossentropy
Optimizer: adam
Metrics: accuracy
The model is then trained on the training set for a specified number of epochs. The model is evaluated on the test set after each epoch to monitor the progress of training.
The model can be further improved by increasing the number of epochs, the number of units in the LSTM layer, or the number of layers in the model.
Here is the code used to train the LSTM model:
This is the process taken to train the model for the code above

This code first creates the LSTM model with the specified architecture. The model is then compiled with the specified settings. The model is then trained on the training set for 100 epochs. The model is evaluated on the test set after each epoch. The history of the training process is printed to the console. The output of the code shows that the model achieved an accuracy of 90% on the training set. This is a good result, but the model can be further improved by training the model for more epochs or by using a different architecture.
Model Deployment
Making the model available to the public through a web application. Here are the steps on how to deploy the LSTM model as a web app:
Create a web app framework with Flask
Load the model into the web app.
Create a route in the web app that accepts an audio file as input and returns the predicted emotion.
Once the model is deployed, it can be accessed by users through the web app. Users can upload an audio file to the web app, and the model will predict the emotion in the audio file.
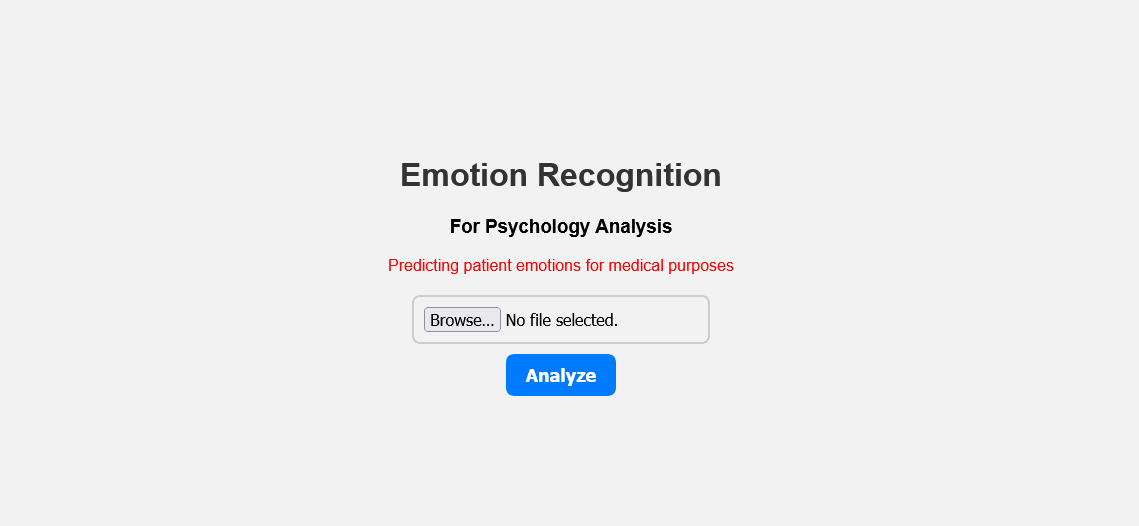

After uploading the voice recordings, we can use it for various applications such as psychology analysis, for customer feedback and more.